I was running OpenClaw on a Raspberry Pi 4 with 4GB of RAM.
It worked…barely.
QMD’s semantic search OOM’d every time, memory_search was limited to basic keyword matching, and anything that needed real processing power made the whole thing crawl.
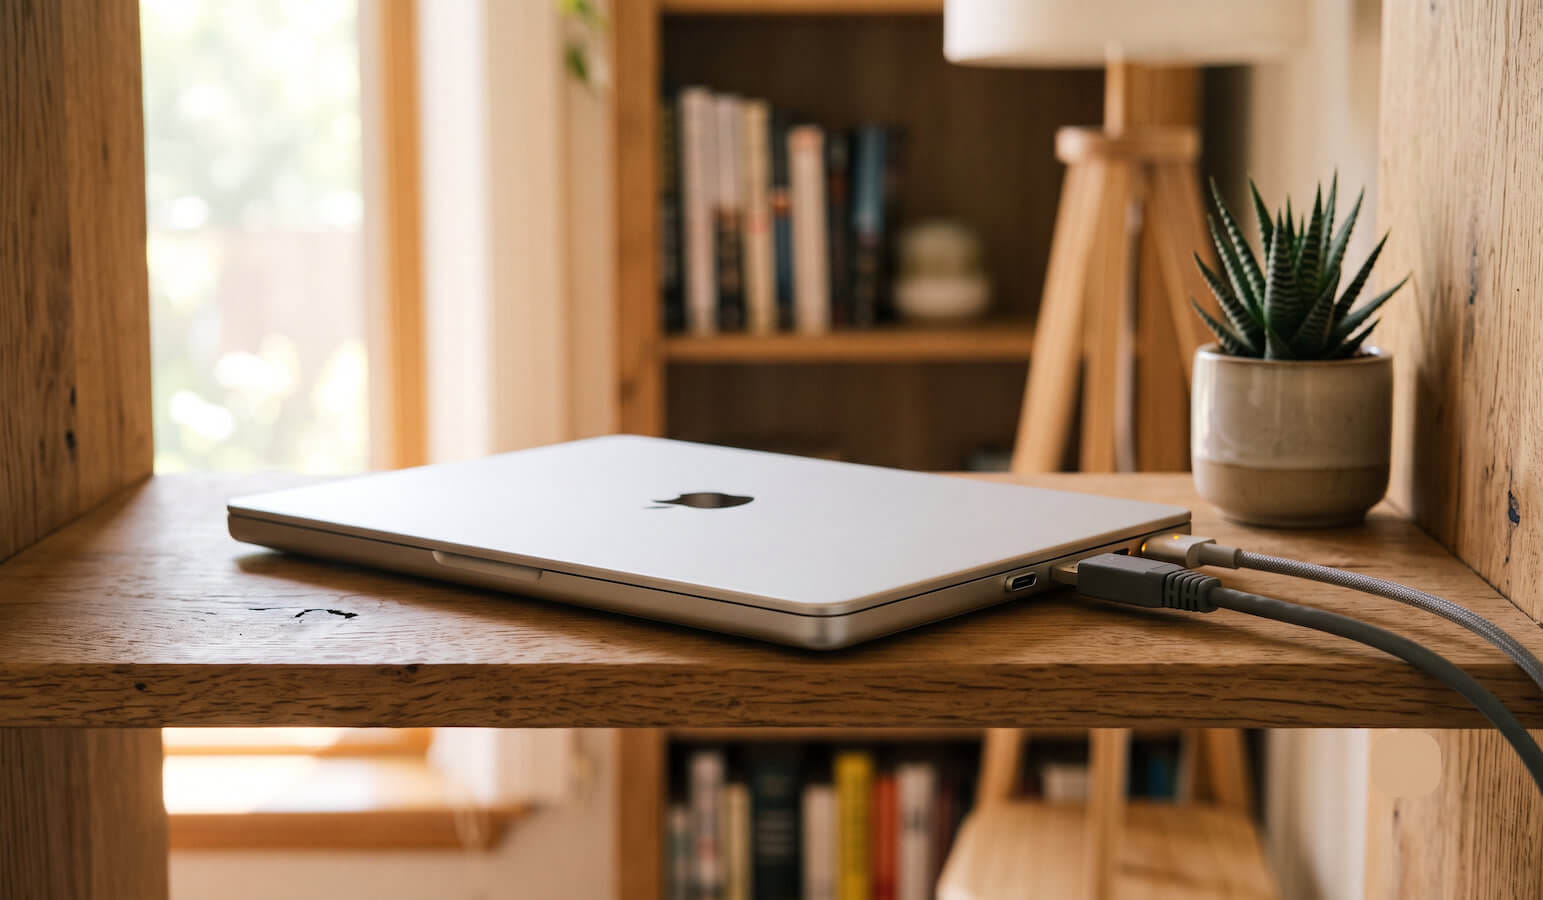
Then I remembered something: I had an M1 MacBook Pro sitting in a closet. The display was completely dead. I had taken it to a repair shop and they wanted $1,200 to fix the screen. No thanks.
But you know what a laptop with a broken screen is perfect for? A headless server.
There’s 16GB of RAM. Apple Silicon. No display needed. It’s been running OpenClaw 24/7 for months now and I’m not going back.
Here’s how I set it up and what tripped me up along the way.
Why not just use a VPS?
You absolutely can run OpenClaw on a VPS. But:
- A decent VPS with enough RAM costs $20-40/month
- You’re adding latency to every tool call
- You’re trusting a third party with your API keys and personal data
- A broken Mac sitting in your closet costs $0/month
If you’ve got an old Mac laying around, it’s probably the best OpenClaw server you’ll find for free.
What you need
- A Mac you don’t use as a daily driver (broken screen, old model, whatever)
- An Ethernet cable. Wi-Fi works but Ethernet is more reliable for something that needs to stay connected
- A power adapter, because it needs to stay plugged in 24/7
- Another computer to SSH into it, or a monitor + keyboard for the initial setup
- Node.js 24 (or Node 22 LTS) installed, though the OpenClaw install script can set this up for you
If the display works, you’ll do the initial setup directly. If it’s broken like mine, you have a couple of options:
- Use RustDesk for remote desktop access (this is what I do. No monitor needed)
- Hook up an external monitor temporarily for the initial setup
I use RustDesk to get full GUI control over the Mac without ever plugging in a monitor. SSH handles the day-to-day terminal stuff. Between the two, I never need physical access.
But initially, it would be a good idea to hook up the peripherals.
Step 1: prevent sleep (critical)
This tripped me up at first. macOS loves to sleep, and a sleeping Mac means a dead OpenClaw server.
Open Terminal (directly or via SSH) and run:
# Prevent system sleep entirely
sudo pmset -a sleep 0

# Prevent disk sleep
sudo pmset -a disksleep 0

# Keep network alive during sleep (just in case)
sudo pmset -a tcpkeepalive 1

# Wake on network access (for Wake-on-LAN)
sudo pmset -a womp 1

# Disable Power Nap (it wakes the system at random times)
sudo pmset -a powernap 0
The key one is sleep 0. This tells macOS to never sleep the system, even with the lid closed, as long as it’s plugged in.
Verify your settings:
pmset -gLook for sleep 0 in the output. On my MacBook Pro it reads like this:
 powernap             0
 disksleep            0
 sleep                0 (sleep prevented by Amphetamine, powerd)
 displaysleep         1 (display sleep prevented by Amphetamine)
 tcpkeepalive         1
 womp                 1
Don’t expect a tidy SleepDisabled 1 line. Depending on your macOS version and what’s preventing sleep, you may just see sleep 0 with a note about what’s holding it awake, as above.
Note: You can also set display sleep separately with
sudo pmset -a displaysleep 0, but there’s no point if the display is broken anyway. The display is dead, so who cares.
⚠️ Real-world caveat (clamshell sleep): In theory
sleep 0is enough. In practice, when I ran my MacBook Pro fully closed (clamshell mode), it still dropped to sleep after about an hour no matter whatpmsetreported. Two things reliably fix it: plug in a cheap dummy HDMI display emulator so macOS believes a monitor is attached, and run a keep-awake app. You can see both at work in my output above. I use this little HDMI dummy plug together with Amphetamine (free on the Mac App Store), and it’s been rock solid since. Leaving the lid cracked open instead of fully closed also works if you’d rather not buy anything.
Step 2: enable SSH
If SSH isn’t already enabled:
# Enable Remote Login
sudo systemsetup -setremotelogin on
Or go to System Settings → General → Sharing → Remote Login and toggle it on.
Test it from another machine:
ssh yourusername@your-mac-ipFind your Mac’s IP. Don’t assume en0 is Ethernet and en1 is Wi-Fi. The device names vary wildly (Wi-Fi is often en0, and a USB Ethernet adapter might show up as en7 or something else entirely). List your hardware ports first so you know which device is which:
# Map each interface to its device name (en0, en7, etc.)
networksetup -listallhardwareports

# Then grab the IP for the device you actually care about
ipconfig getifaddr en0
Tip: Set a static IP on your router for this Mac so the address doesn’t change. Or use the .local hostname: ssh yourusername@your-macs-name.local
Step 3: use Ethernet
Wi-Fi works, but I wouldn’t trust it for something that needs to stay online. A wired connection doesn’t drop when your router hiccups or someone microwaves popcorn.
Just plug it in. macOS picks it up automatically. But here’s the catch most guides skip: don’t assume your wired connection is called “Ethernet.” If you’re using a USB-to-Ethernet adapter (common on modern MacBooks that are USB-C only), macOS names the service after the adapter, not “Ethernet.” List your actual services first:
networksetup -listnetworkserviceorderOn my MacBook Pro, the USB adapter shows up like this, not as “Ethernet”:
(1) USB 10/100/1000 LAN
(Hardware Port: USB 10/100/1000 LAN, Device: en7)

(2) Wi-Fi
(Hardware Port: Wi-Fi, Device: en0)

(3) Thunderbolt Bridge
(Hardware Port: Thunderbolt Bridge, Device: bridge0)
Use whatever name the list shows you. To check that interface for an IP (swap in your own service name):
networksetup -getinfo "USB 10/100/1000 LAN"If you see an IP address, you’re good. Some Macs only have USB-C, so you might need a USB-C to Ethernet adapter to get a wired port at all.
To make sure macOS always prefers the wired connection over Wi-Fi, set the service order using the exact names from the list above:
sudo networksetup -ordernetworkservices "USB 10/100/1000 LAN" "Wi-Fi" "Thunderbolt Bridge"macOS will use the wired connection whenever it’s plugged in and fall back to Wi-Fi if it drops. Check the current order anytime with networksetup -listnetworkserviceorder.
Step 4: enable auto-login and auto-restart
If the power goes out, you want the Mac to come back up on its own:
# Restart automatically after power failure
sudo pmset -a autorestart 1

# Restart on freeze
sudo systemsetup -setrestartfreeze on
For auto-login (so you don’t need to type a password after reboot):
Go to System Settings → Users & Groups → Automatic Login and select your user.
⚠️ If you have FileVault enabled, auto-login won’t work. You’ll need to disable FileVault or accept that you’ll need to manually unlock after a reboot. For a server sitting in your house, I’d disable FileVault.
Step 5: install OpenClaw
If you haven’t already:
# The one-liner installs Node.js and OpenClaw for you
curl -fsSL https://openclaw.ai/install.sh | bash

# or

# Prefer to manage Node yourself? Install Node 24 (or Node 22 LTS, 22.19+)
# from https://nodejs.org or via nvm/fnm, then:
npm install -g openclaw

# Run the onboarding wizard and install the background service in one go
openclaw onboard --install-daemon
Follow the prompts. It’ll ask for your AI provider and API key (Claude, by default), set up the config, and create the workspace. The --install-daemon flag also registers OpenClaw as a launchd service so it survives reboots, which we’ll verify next.
Step 6: confirm the LaunchAgent (auto-start on boot)
You don’t want to SSH in and manually start OpenClaw every time the Mac reboots. launchd handles this, and if you ran openclaw onboard --install-daemon above, the service is already installed. If you skipped that flag, install it now:
openclaw daemon installThis drops a launchd plist in ~/Library/LaunchAgents/ and configures the gateway to start on boot.
Verify it’s running:
openclaw gateway statusYou should see RPC probe: ok.
Manage the service with the built-in daemon commands. They’re cleaner than poking at launchctl directly, and you don’t have to memorize the exact plist filename:
openclaw daemon status
openclaw daemon stop
openclaw daemon start
openclaw daemon restart
If anything ever looks out of sync, openclaw doctor --repair audits the install and fixes drift (it’s the same as openclaw doctor --fix).
Gotchas I hit
Permission Issues
macOS really wants you to click “Allow” on things. Full Disk Access, Accessibility, network permissions for new binaries. All of these pop up as GUI dialogs.
If your screen is broken, that’s a problem. But you don’t actually need a physical monitor.
I use RustDesk. It’s a free, open-source remote desktop app. Install it on the Mac server, and it walks you through granting all the macOS permissions (Screen Recording, Accessibility, Input Monitoring). Once those are approved, you can control the Mac from any other computer.
Go to Settings → Network and check “Enable Direct IP Access” so you can connect by IP address instead of remembering a code. Set a password, and you’re done. Full GUI control of your headless Mac from anywhere on your network.
Allow Accessories to Connect
This one is easy to miss until it bites you. On Apple Silicon Macs, macOS prompts you to approve any new USB or Thunderbolt accessory the first time you plug it in. On a headless server with no easy way to click “Allow,” that means a dummy HDMI plug or Ethernet adapter you connect later might just sit there doing nothing.
Set it once, up front, while you still have GUI access: go to System Settings → Privacy & Security → Allow accessories to connect and choose Always. Now you can plug things in remotely (or after a reboot) without a dialog blocking you.
The PATH Problem
This one got me. launchd services don’t inherit your shell’s PATH. So if you install tools via Homebrew (/opt/homebrew/bin) or in custom locations (~/bin), the OpenClaw gateway just… can’t find them. Your skills fail silently.
Run openclaw doctor --repair and it usually sorts this out. If not, edit the plist by hand. Find it first, since the exact filename can vary between versions:
ls ~/Library/LaunchAgents/ | grep openclaw
nano ~/Library/LaunchAgents/<the-openclaw-plist-you-found>
Find the PATH entry and add your custom directories:
<key>PATH</key>
<string>/Users/yourname/bin:/opt/homebrew/bin:/usr/local/bin:/usr/bin:/bin</string>
Then restart the service with openclaw daemon restart.
Port Mismatches
If you change the gateway port in openclaw.json, the plist might still reference the old port. This causes a mismatch where the CLI can’t connect to the running gateway. A similar token desync throws an unauthorized: device token mismatch error, which I cover in this quick fix.
Fix: Run openclaw doctor --repair to sync the plist with your config.
Clamshell Mode and Bluetooth Keyboards
If you have a Bluetooth keyboard paired with the Mac, clamshell mode sometimes gets confused. The Mac might sleep when you close the lid because it “loses” the Bluetooth keyboard.
Fix: If you’re using this purely as a headless server, unpair any Bluetooth devices. You don’t need them. Combine that with the dummy HDMI plug from Step 1 and a closed-lid Mac stays reliably awake.
The before and after
Raspberry Pi 4 (4GB RAM):
- QMD semantic search: ❌ OOM killed every time
memory_search: keyword-only (BM25)- Response times: slow, especially with tool calls
- Multi-agent: forget about it
- Cost: ~$80 for the Pi + accessories
M1 MacBook Pro (16GB RAM):
- QMD semantic search: ✅ works perfectly
memory_search: full semantic + keyword search- Response times: fast, even with multiple tools running
- Multi-agent: handles concurrent sub-agents easily
- Cost: $0 (already owned, broken screen)
The RAM alone was worth the move. But the M1 chip just makes everything faster. Tool calls, file operations, even brew install doesn’t feel like waiting anymore.
Other Macs that work
You don’t need a MacBook Pro. A Mac Mini, MacBook Air, even an old iMac would all work. Intel Macs are fine too, just noticeably slower than M1+.
Quick reference: all the commands
# Prevent sleep
sudo pmset -a sleep 0
sudo pmset -a disksleep 0
sudo pmset -a tcpkeepalive 1
sudo pmset -a womp 1
sudo pmset -a autorestart 1

# Enable SSH
sudo systemsetup -setremotelogin on

# Check your network service names, then prefer wired over Wi-Fi
networksetup -listnetworkserviceorder

# Install OpenClaw (the script installs Node for you)
curl -fsSL https://openclaw.ai/install.sh | bash
openclaw onboard --install-daemon

# Manage the service
openclaw daemon status
openclaw daemon restart

# Check the gateway
openclaw gateway status

# Fix config drift
openclaw doctor --repair

# View logs
tail -f ~/.openclaw/logs/gateway.log
Is it worth it?
If you’ve got a Mac collecting dust, don’t sell it for parts. Plug it into Ethernet, run the commands above, and you’ve got an OpenClaw server that beats most VPS setups, for free.
The migration took me about an hour. Semantic search works, sub-agents run in parallel, and I haven’t had an OOM kill since.
This is also the same broken-screen MacBook I later reused when I moved off OpenClaw and onto Hermes Agent. The host setup never changed, only the agent on top of it did. If you want the agent-agnostic version of this guide for running any self-hosted agent on a spare Mac, I wrote that up here: Turn an Old MacBook Pro Into a 24/7 AI Agent Server.
Check your closet. You might be sitting on a server you’ve forgotten about.
This page may contain affiliate links. Please see my affiliate disclaimer for more info.